
Actual color may vary from on-screen representation.

TRANSFORMATIVE POWER OF COLOR
SUPPLIES YOU WILL NEED
- Valspar® Cabinet & Furniture Oil-Enriched Enamel in Satin – 1 gallon
- Valspar® Ultra Interior Paint + Primer in Satin – 1 gallon
- Valspar® Stainblocking Bonding Primer/Sealer – 1 gallon
- Valspar® Ultra Ceiling Paint + Primer – 1 gallon
- Valspar® 4-in x 3/8-in Walls and Ceilings Knit Mini Roller
- Valspar® Walls, Ceiling and Trim Kit
- Painters Tape
- 220 grit sandpaper
- Tack Cloth
STEPS
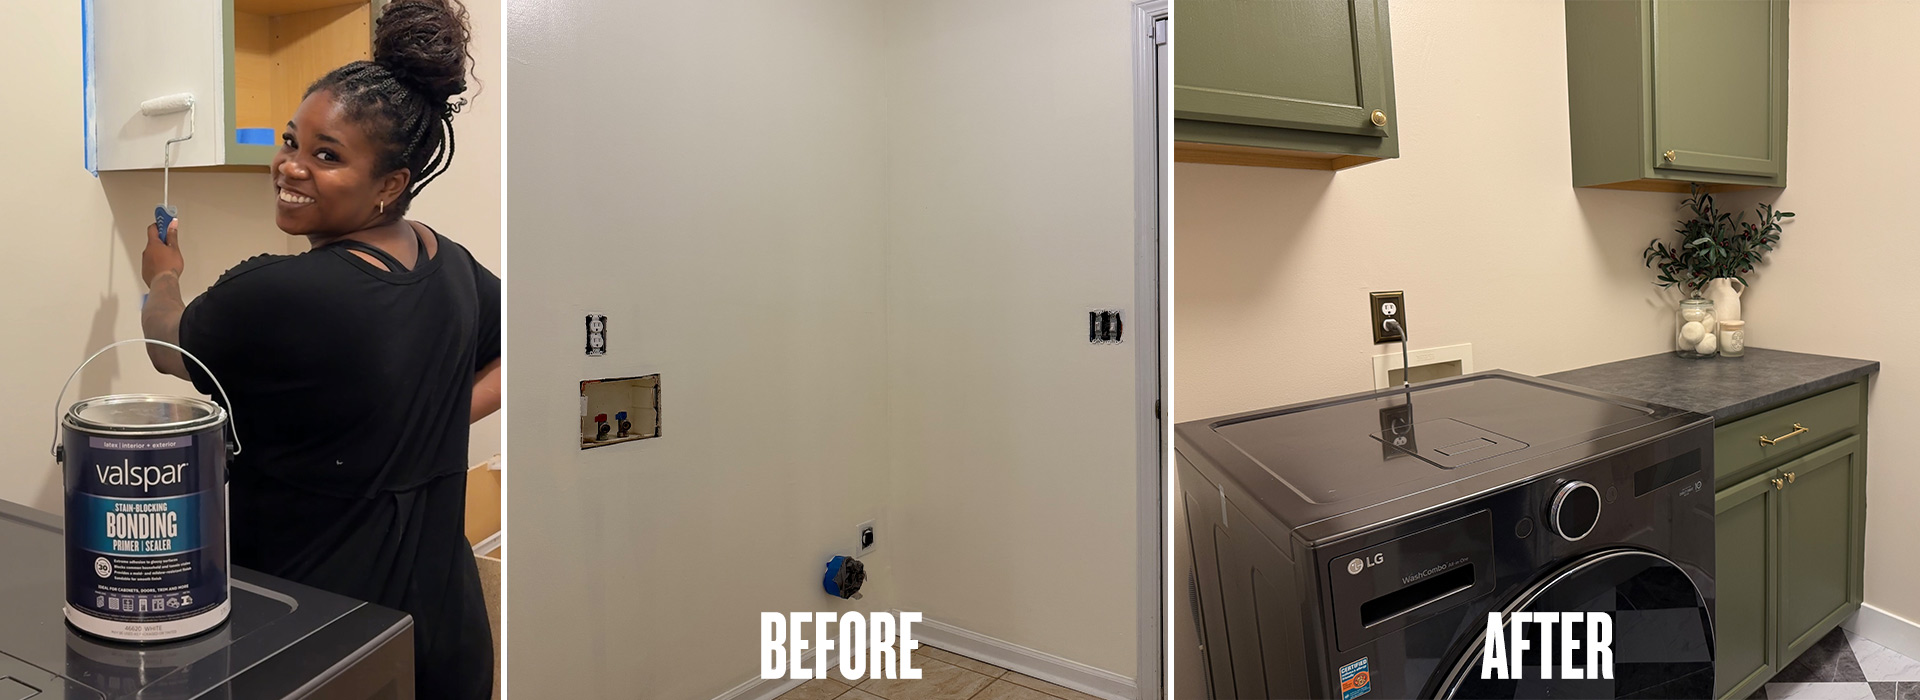
To keep this project budget friendly, I decided to purchase unfinished cabinets from Lowe’s. However, unfinished cabinets require a little more prep work to get a great finish. First, I removed the cabinet doors and hinges.
PRO TIP: Before removing, label the cabinet doors to ensure they go back in the correct location.
Next, I sanded with 220 grit sandpaper on my sheet palm sander. To remove the dust and ensure a clean surface before priming, I wiped the surfaces down with a tack cloth.
Using Valspar® Stainblocking Bonding Primer/Sealer and Valspar® 4-in x 3/8-in Walls and Ceilings Knit Mini Roller, I applied one coat of primer to all of the cabinet surfaces that I would be painting. I chose Valspar’s Stainblocking Primer/Sealer because of its ability to be sanded and durability.
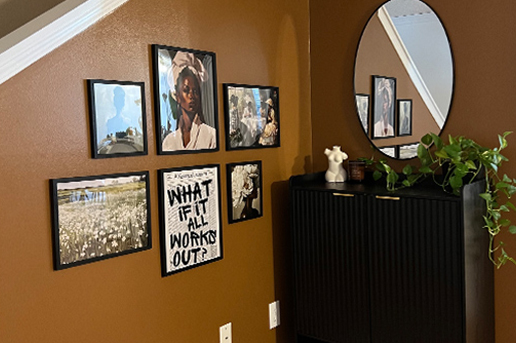
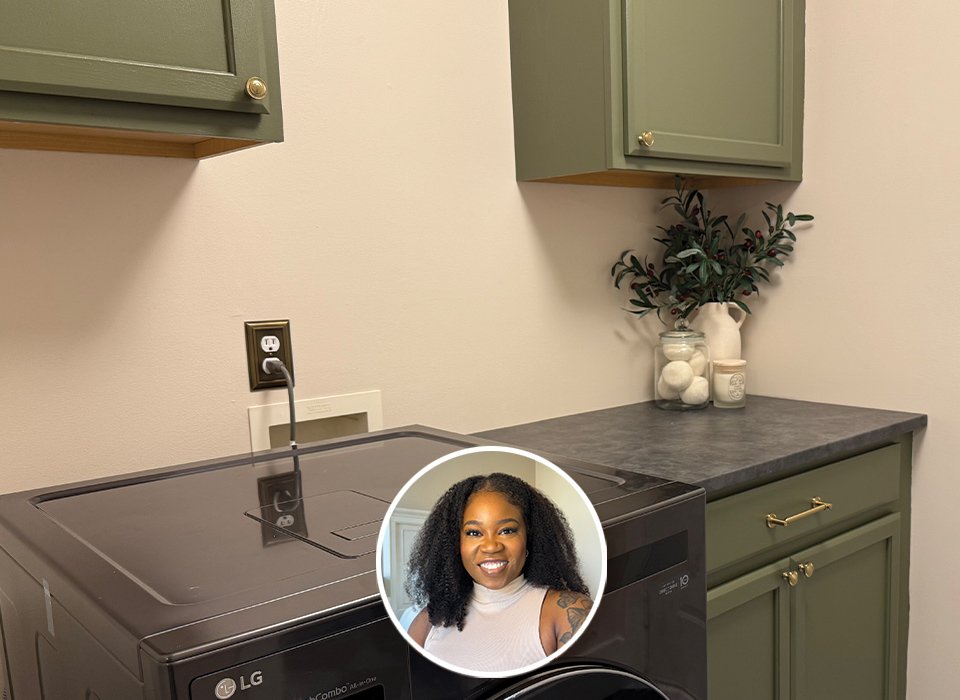
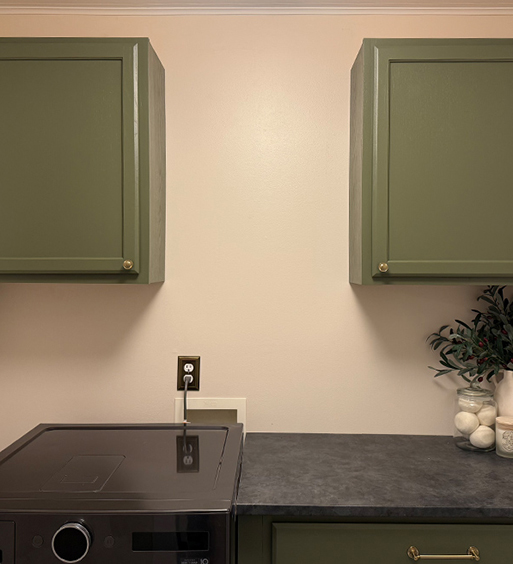
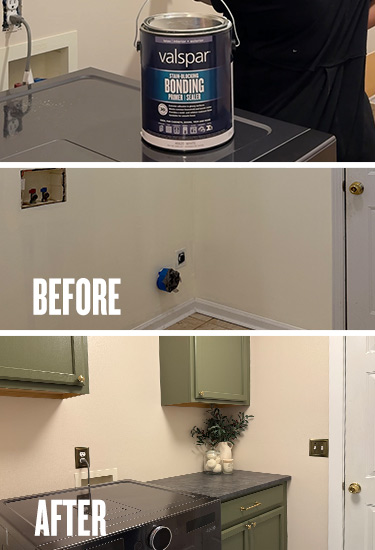
Now this was the part of the project that I was most excited about even though I chose to paint on a hot South Carolina day. After giving all surfaces another good sanding (with the same 220 grit sandpaper), I went in with Valspar® Cabinet & Furniture Oil-Enriched Enamel in a Satin finish in the color Thai Basil 8004-26F. I applied two coats, sanding in between to ensure a smooth finish. The goal with this project was to make two side-by-side spaces (my laundry and powder room) cohesive using color. I color drenched the powder room last year with Thai Basil, and I wanted to bring in the rich vibes of the green and brass into the laundry room.
I put a lot of work into this space before it was time to install the cabinets including, peel and stick tile, painting the walls with Valspar® Ultra Interior Paint + Primer in a Satin finish in the color Balance 2004-10C using the Valspar® Walls Ceiling and Trim Kit , and covering the popcorn ceiling with beadboard. Cabinet installation was definitely a learning process with leveling, scribing filler pieces and installing a new laminate countertop, but I was able to get this part of the project done in two days.
Once all of the hard work was complete, it was time to style the finished project. I finished the cabinets with brass hardware and added plants, candles, and decorative storage to the countertops to make the space look beautiful yet functional. I am absolutely in love with how well the laundry room and powder room complement each other.

MORE PROJECTS BY KANISHA JENKINS

NEXT PROJECT
Coming Soon