
Actual color may vary from on-screen representation.
BEFORE YOU BEGIN: PROJECT CHECKLIST
Concrete Projects
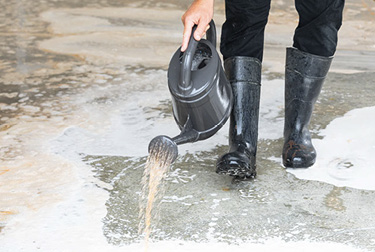
- Cleaner/degreaser/etching solution
- Watering can
- Rubber gloves
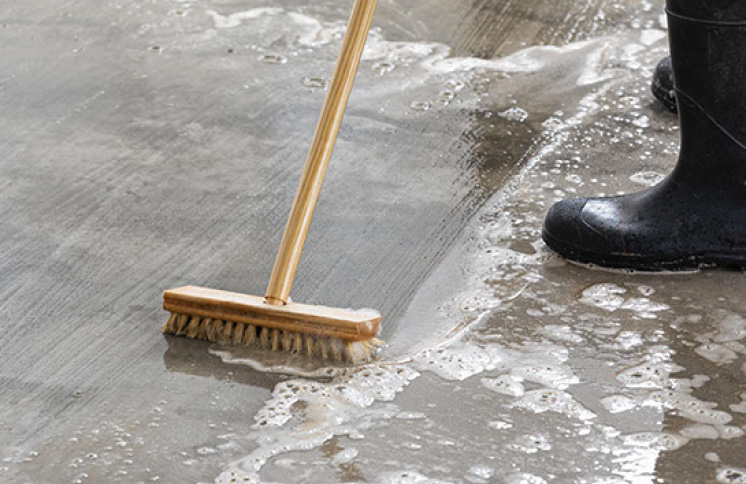
- Stiff bristle brush
- Water hose
Wood Projects
- Valspar All-in-One Wood Prep
- 150-200-grit sandpaper and wire brush
- Stiff bristle brush
- Rags
- Water hose
Optional
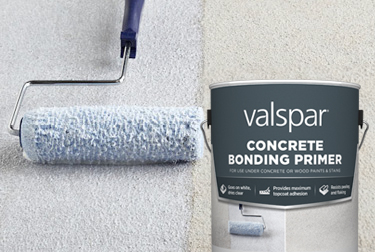
- Valspar Concrete Bonding Primer
- Paintbrush
- 3/8"-1/2" nap roller cover, depending on texture of the surface
- Roller frame
- Extension pole
- Paint tray
- Stir sticks
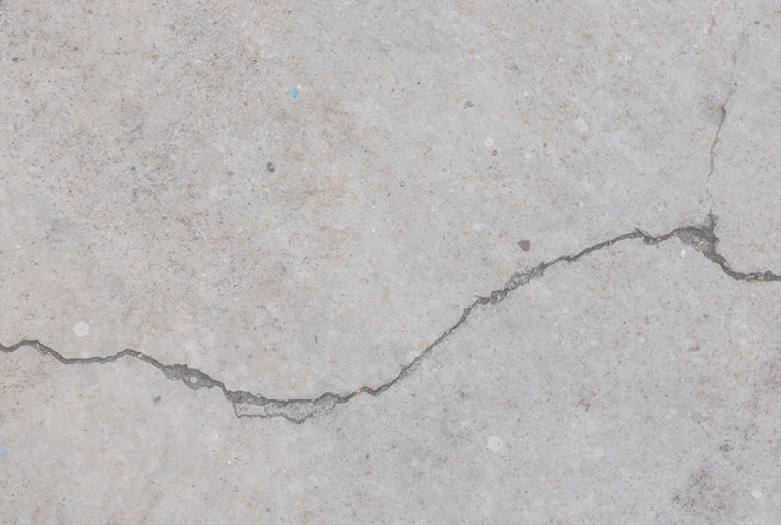
PREVIOUSLY COATED CONCRETE
If the concrete you’re working with has an existing coating, you’ll have to do a few things before you apply new paint or stain to the surface.
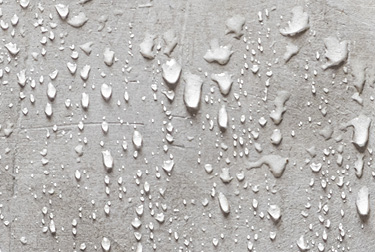
STEP 1:
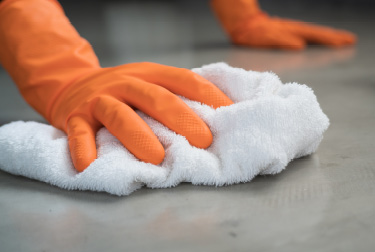
Test to see if the previous coating was solvent or water based. Use a rag to apply xylene to the surface. If it lifts the previous coating, then a solvent-based coating was used. If there’s no material on the rag and the surface is gummy, then a water-based coating was used.
For best results, use water-based finishes on surfaces coated with water-based products and solvent-based finishes coated with solvent- or oil-based products.
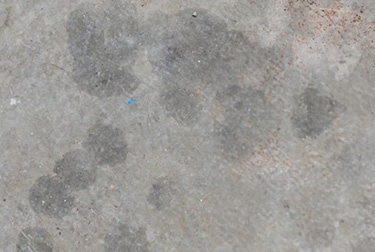
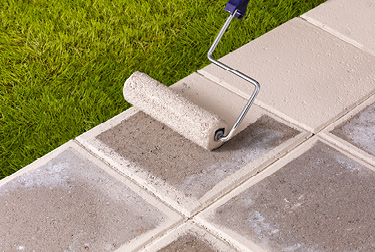
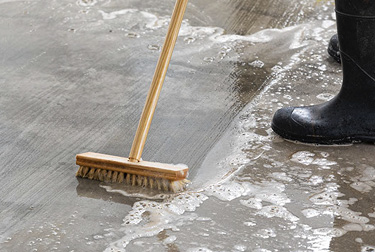
NEW OR BARE CONCRETE
If you’re working with surfaces that haven’t been coated before, you still need to go through a few steps before application.
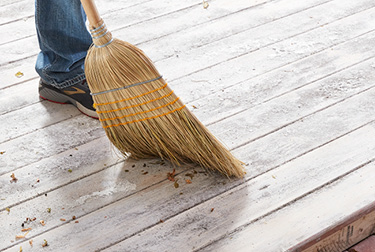
WOOD FLOORS
Now that you know how to prep concrete surfaces, let’s take a quick look at the steps needed to prep wood surfaces for painting or staining.
Warning: Removal of old paint by sanding, scraping or other means may generate dust or fumes that contain lead. Exposure to lead dust may cause brain damage or other adverse health effects, especially in children or pregnant women. Controlling exposure to lead or other hazardous substances requires the use of proper protective equipment, such as a properly fitted respirator (NIOSH approved) and proper containment and cleanup. For more information, call the National Lead Information Center at 1-800-424-LEAD (in US) or contact your local health authority.
Adequate ventilation is required when sanding or abrading the dried film. If adequate ventilation cannot be provided, wear an approved particulate respirator (NIOSH approved). Follow respirator manufacturer’s directions for respirator use.
BEFORE YOU BEGIN: PROJECT CHECKLIST
Concrete Projects
- Valspar® Fast Prep®
- Watering can
- Rubber gloves
- Stiff bristle brush
- Water hose
Wood Projects
- Valspar All-in-One Wood Prep
- 150-200-grit sandpaper and wire brush
- Stiff bristle brush
- Rags
- Water hose
Optional
- Valspar Concrete Bonding Primer
- Paintbrush
- 3/8"-1/2" nap roller cover, depending on texture of the surface
- Roller frame
- Extension pole
- Paint tray
- Stir sticks
PREVIOUSLY COATED CONCRETE
If the concrete you’re working with has an existing coating, you’ll have to do a few things before you apply new paint or stain to the surface.
STEP 1:
Test to see if the previous coating was solvent or water based. Use a rag to apply xylene to the surface. If it lifts the previous coating, then a solvent-based coating was used. If there’s no material on the rag and the surface is gummy, then a water-based coating was used.
For best results, use water-based finishes on surfaces coated with water-based products and solvent-based finishes coated with solvent- or oil-based products.
NEW OR BARE CONCRETE
If you’re working with surfaces that haven’t been coated before, you still need to go through a few steps before application.
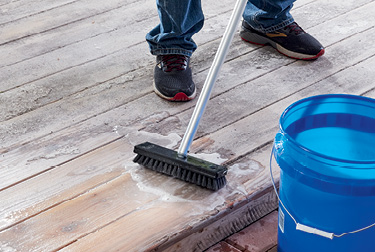
WOOD FLOORS
Now that you know how to prep concrete surfaces, let’s take a quick look at the steps needed to prep wood surfaces for painting or staining.
Warning: Removal of old paint by sanding, scraping or other means may generate dust or fumes that contain lead. Exposure to lead dust may cause brain damage or other adverse health effects, especially in children or pregnant women. Controlling exposure to lead or other hazardous substances requires the use of proper protective equipment, such as a properly fitted respirator (NIOSH approved) and proper containment and cleanup. For more information, call the National Lead Information Center at 1-800-424-LEAD (in US) or contact your local health authority.
Adequate ventilation is required when sanding or abrading the dried film. If adequate ventilation cannot be provided, wear an approved particulate respirator (NIOSH approved). Follow respirator manufacturer’s directions for respirator use.